Installation Instructions
B-Quiet Ultimate/Extreme Sound Deadener Installation Instructions
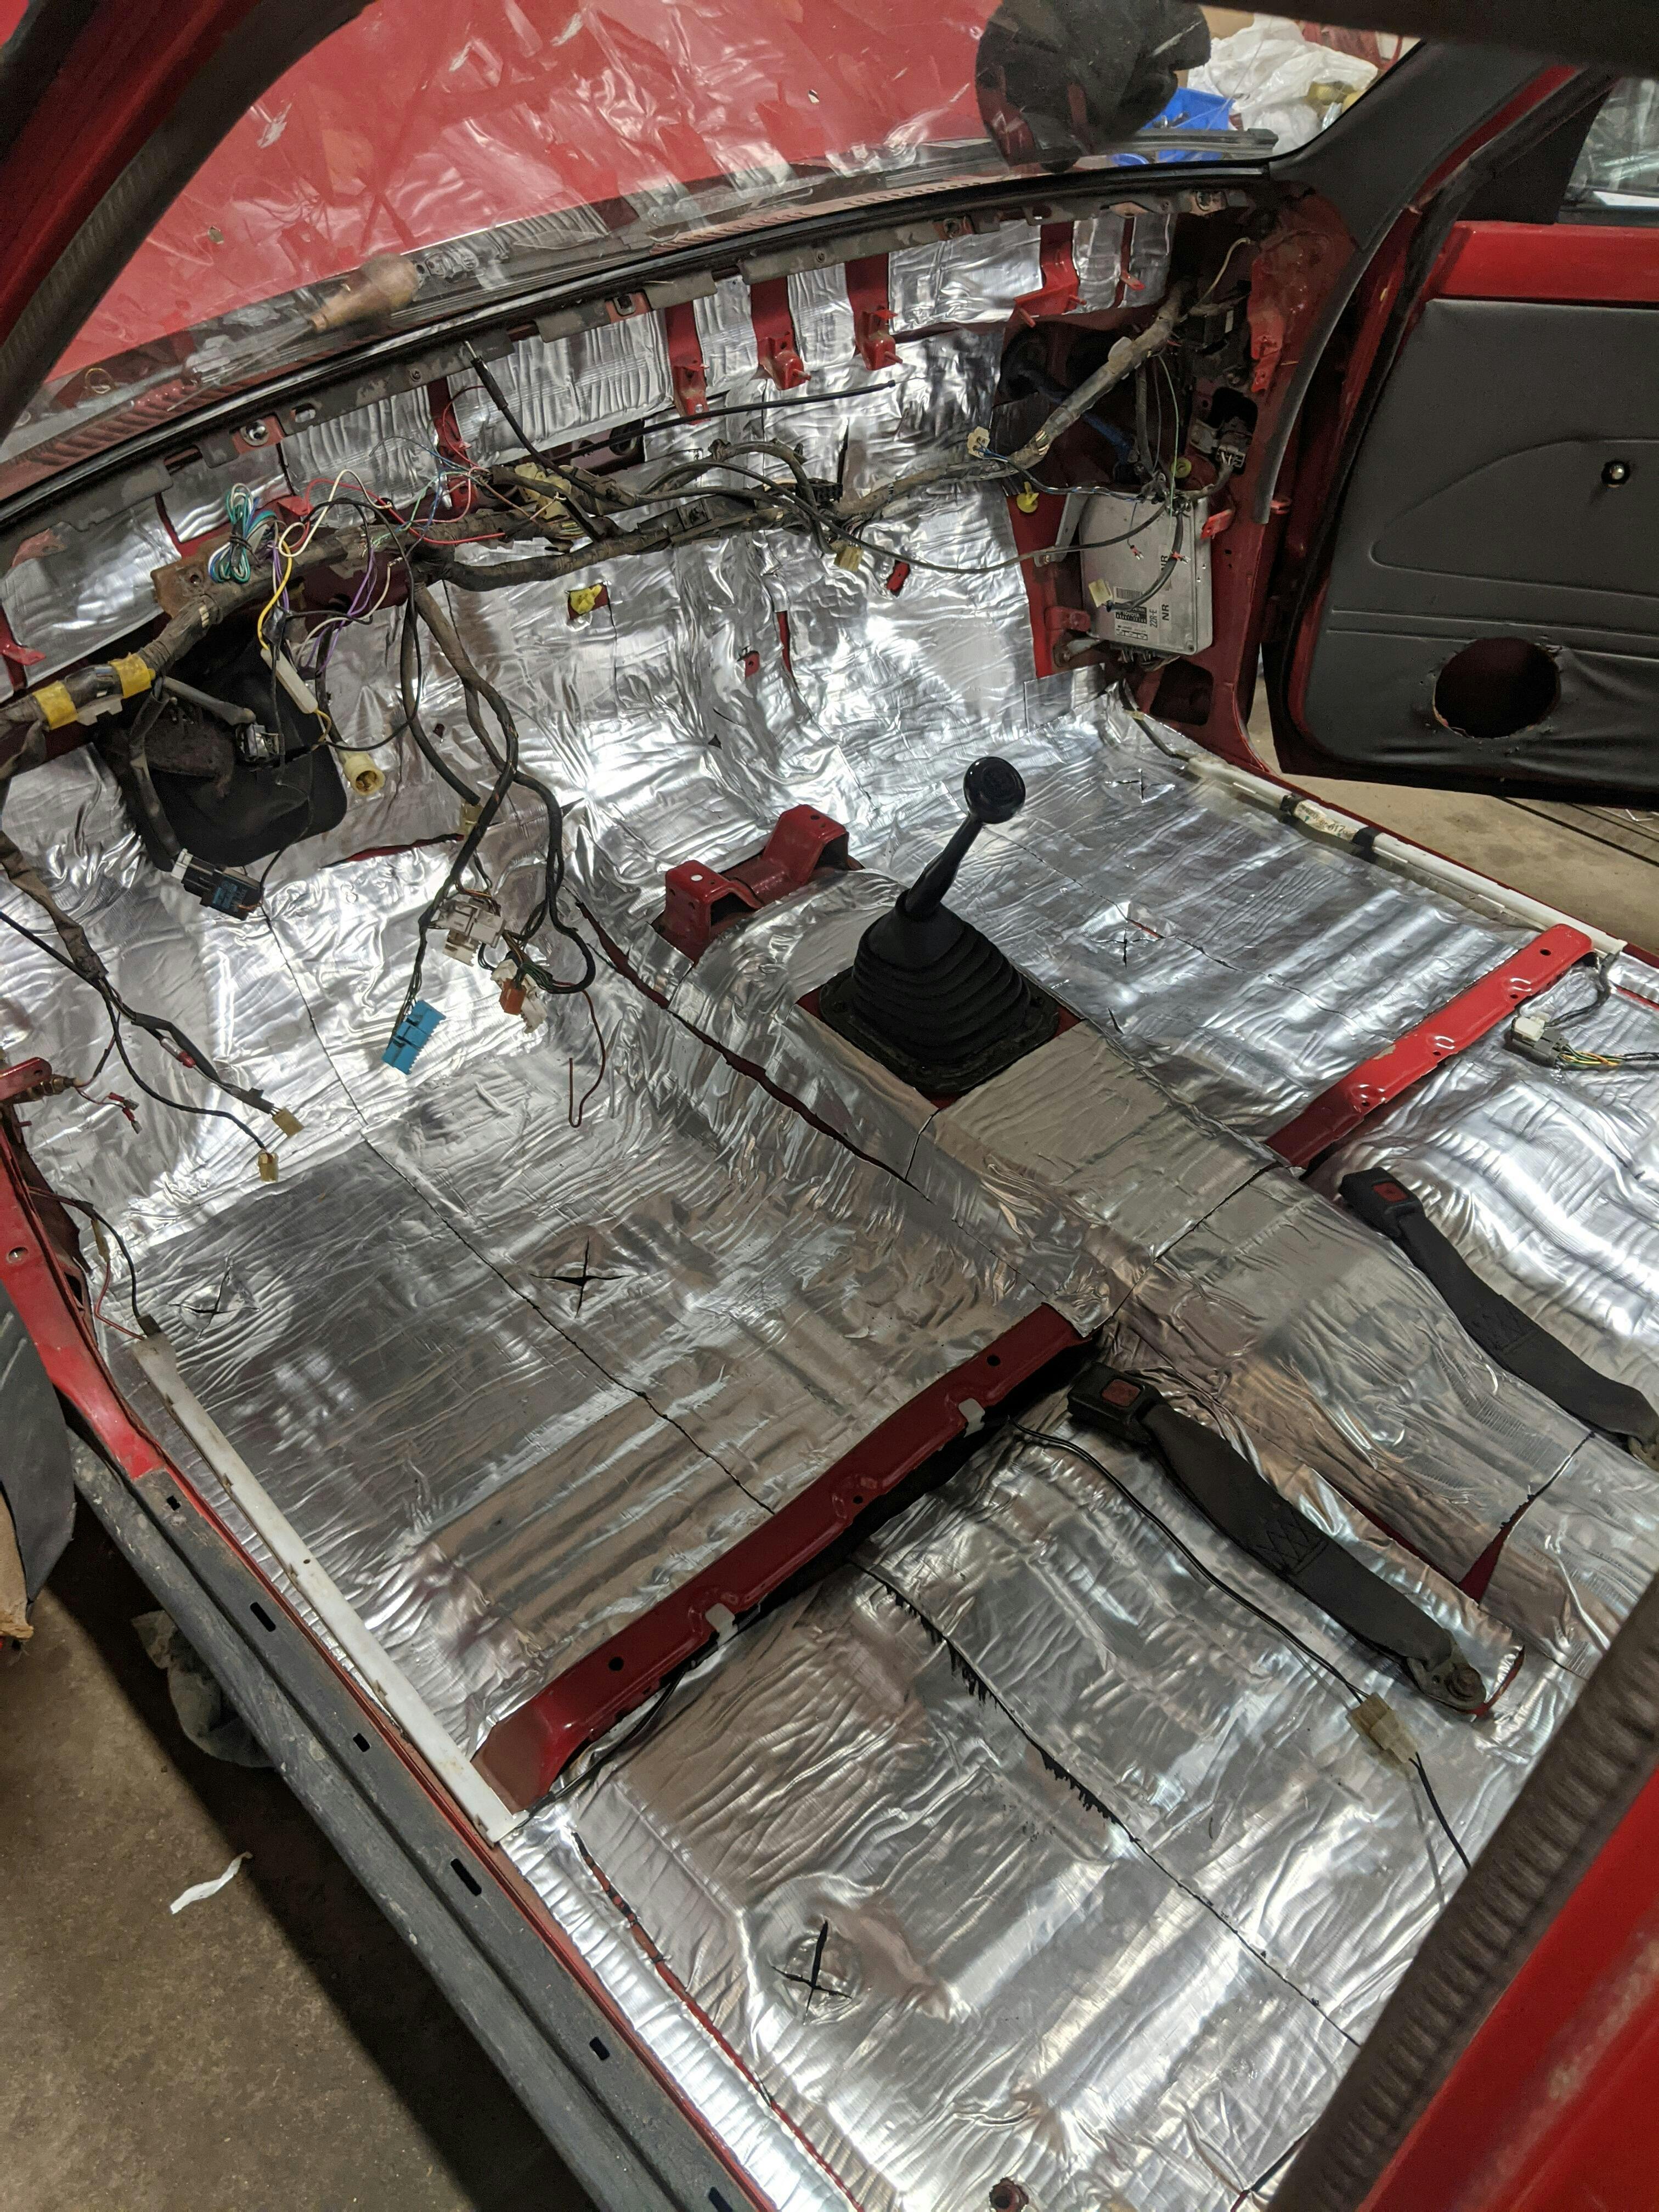
- The surface you are applying the B-Quiet Ultimate/Extreme to, should be clean of dust, moisture, grease and other foreign materials.
- Measure and cut off a piece of B-Quiet Ultimate/Extreme using scissors or a utility knife. Don't cut pieces too small, as it'll just take longer to apply. Keeping the pieces around a square foot will speed the process greatly.
- Heating B-Quiet Ultimate/Extreme (with a heat gun or hair-dryer) before applying is not required as is the case with many other deadeners. As long as it is applied at or above room temperature, it will form a very strong bond.
- Peel the paper backing off, and slowly lay the material down inch by inch. Take your time and slowly push the material into the contours of the panels.
- Remember to mark off any clip holes and/or screw holes that will be covered, so you can cut them out as soon as a sheet has been applied.
B-Quiet Vcomp application instructions
- Always apply the foam side of Vcomp towards the source of the noise
- Use a knife or scissors to cut Vcomp to the required size
- If applying to anything other than the floor of a vehicle, a spray adhesive will be needed to secure the Vcomp to the panel. Follow the directions on the spray adhesive can for best results.
- Press Vcomp firmly into place
- For optimum noise reduction, use in conjunction with one of our damping products (the damping material should be installed first, followed by Vcomp over top)
B-Quiet Hliner application instructions
- Use a knife or scissors to cut Hliner to the required size before removing the backing to expose the adhesive.
- Thoroughly clean the surface to ensure it's free of moisture, dust, oil/grease or other foreign materials.
- Remove the paper backing to expose the adhesive
- Bend Hliner slightly and attach it to the panel. Slowly apply inch by inch until it's completely attached
- Go over the entire surface of Hliner and ensure that it's been firmly pressed into place